“We could have a garden!” This was a very early thought that occurred to us as soon as we bought our one acre property. (In the distance *Skitter skitter squeak squeak* ”We love fresh home grown produce too!”) “Are those squirrels…drooling at us? I think we may be at war and we haven’t even started!” I’m pretty sure this is exactly how it happened when we decided to build a small garden enclosure.
What could be better than your own garden sanctuary safe away from the birds, squirrels, small dragons, killer rabbits, and shady looking deer? Maybe one that recycles materials that otherwise would end up prematurely in a landfill – let’s talk about how that happened for us.

How we built our garden house
Where do we build it?
First we cleared out an overgrown area on our property that we had not put to use yet. There was a huge old silver maple tree, some old chain-link fencing (this does not go to waste, more on that to come), and lots of brush to tear out. We had to have the tree safely removed (but we did plant a new one elsewhere to replace it). The logs were bucked up and stacked to dry out for splitting the next season. (Fire pit nights!) We eventually cleared enough brush to make room for the garden house. A simple design was sketched out in Sketchup and a materials list generated. Time to start building!

Gathering Materials
Barn Metal
After deciding on a design, the opportunity to acquire some sheets of barn metal came about. A friend was fixing up an old milk house on what was once a “poor farm” in the 1800’s. This was perfect for the lower sides of the garden house! We think the patina on the old metal gives it a beauty and charm hard to replicate.
Recycled Deck Boards
Dad was removing some decking and framing joists for a remodel, and this would become the header beams and trim boards.
New materials
4×4 posts, 2×6 boards and fence pickets were purchased to make the pergola top. A heavy duty 7’ x 100’ black poly deer netting was used to enclose the garden house openings.
Utility Locate Request
Do not skip this step! Before you do any digging, make a request to your local utility locate service. In the US and Canada, you can call 811 (or find your local service online). You can find out more about this at call811.com. We had locate services mark any underground lines, pipes, etc. before digging our post holes. Once we had the all clear…time to fire up the auger and grab the post hole shovel!
Build it


First the support posts were set in concrete. The pergola top, metal sides, and trim were then added, after which any openings were covered with the deer netting to protect the garden (from at least some things).

We then built a cedar and metal door and painted it a turquoise for added color. (Maybe it is actually teal? Or aqua? Help us settle this, what color do you think it is?)
Time to garden!
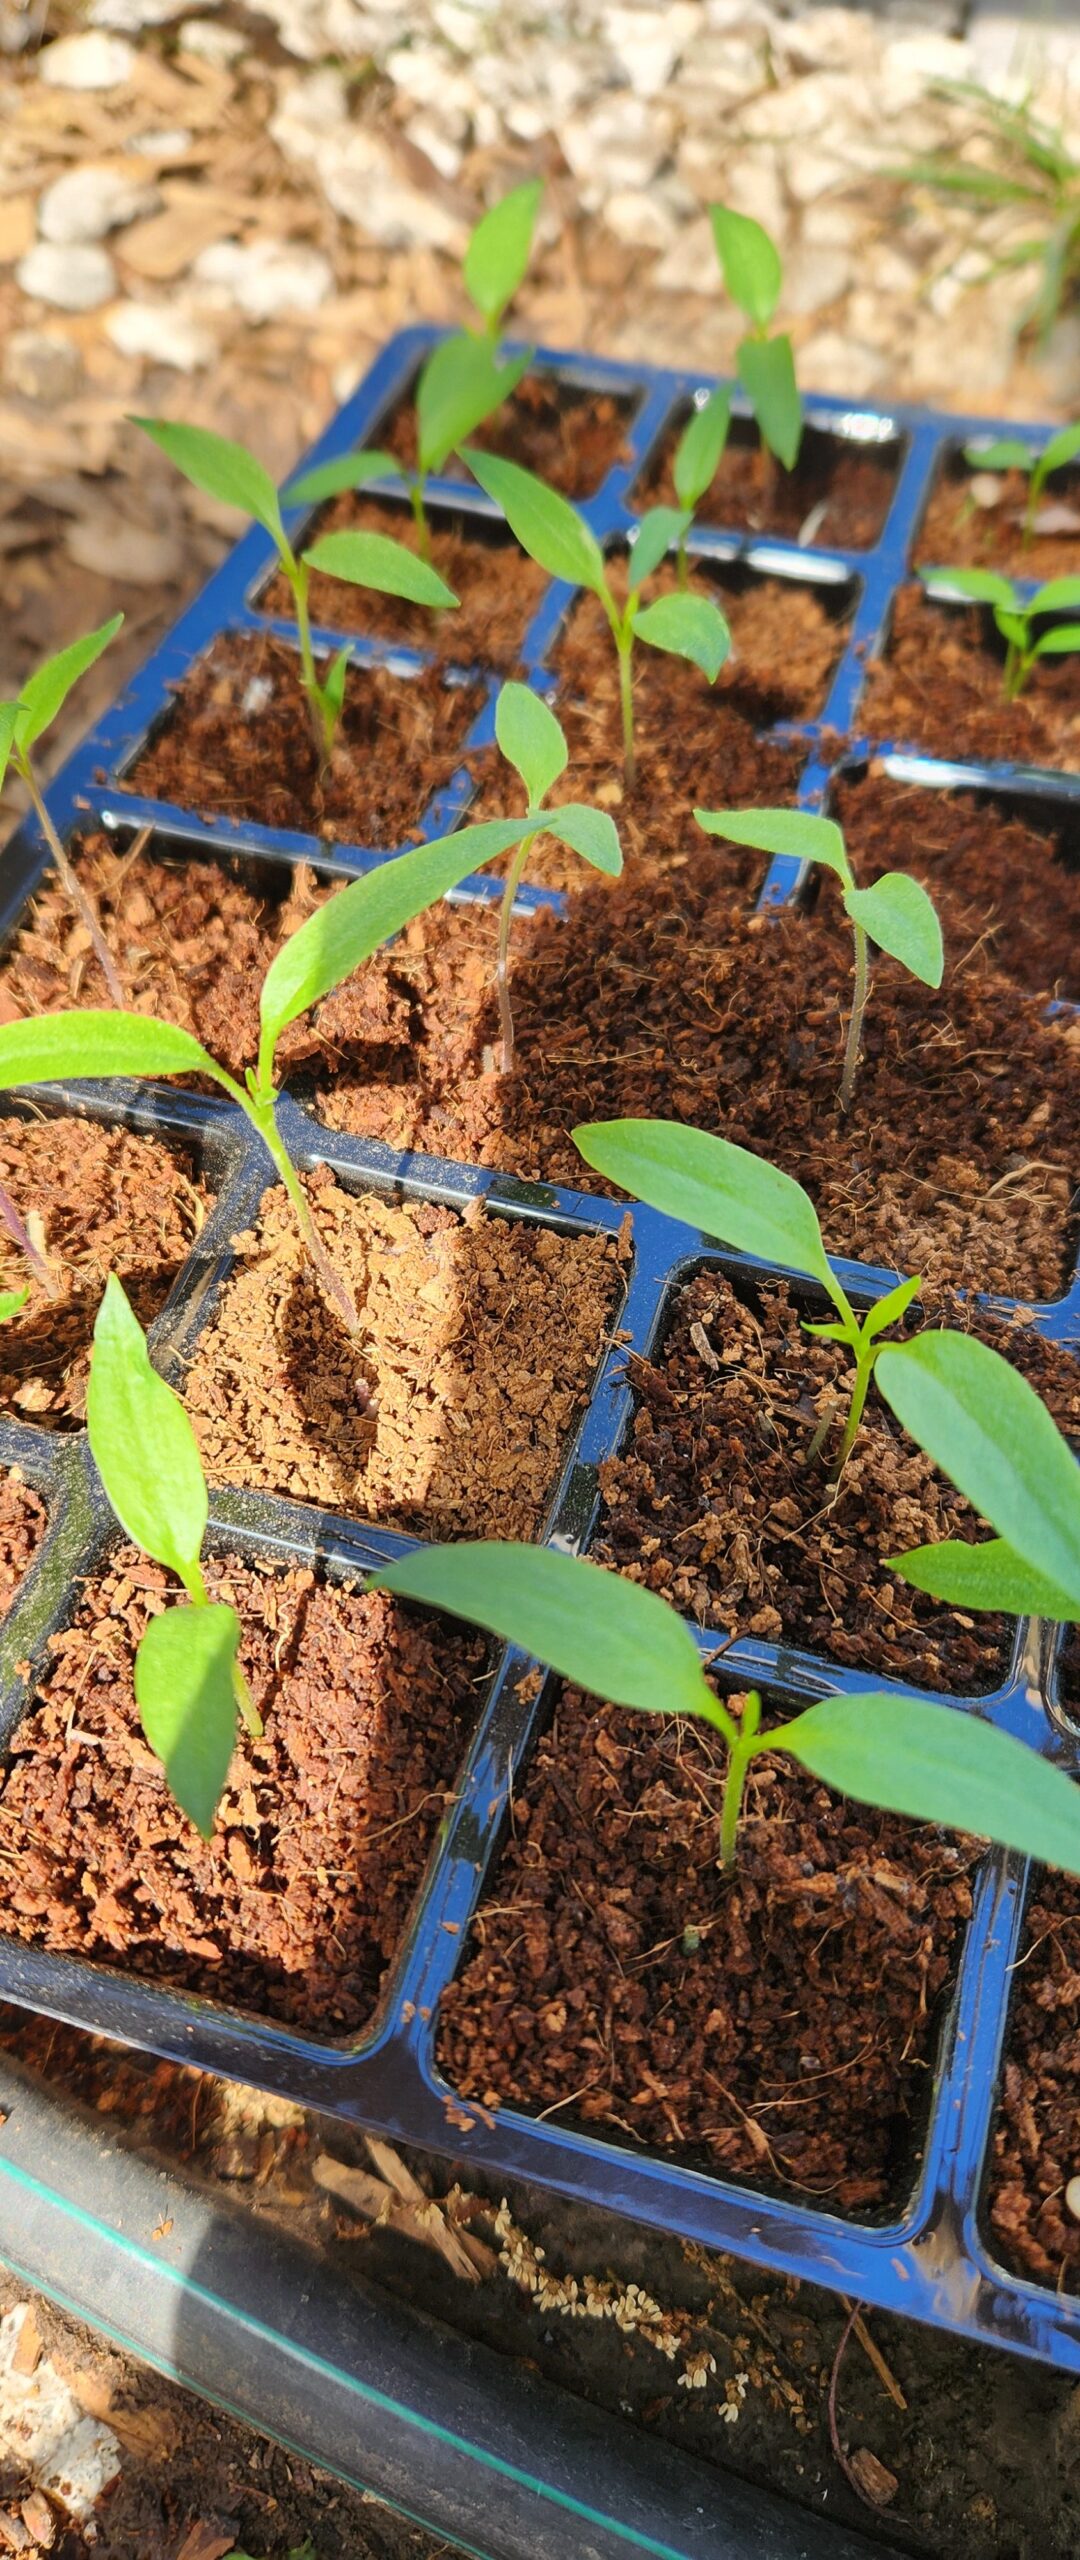
As the garden enclosure was being finished last year, we tried our hand at starting seeds in trays inside. We have many lessons from that experience we can share…. (and how we learned from them to succeed this year!)

